
Pressure cookers, slow cookers, and the Instant Pot® are all great for cooking beans; but this how-to is for anyone who doesn’t have any of these appliances and wants to cook beans from scratch.

For cooking the old-fashioned way, all you need is a large cooking pot. We’ll get to that in a moment.
First, the pros and cons of canned beans
For a number of years, I’ve relied on canned beans; I feel that using them from a can is better than not using them at all. But if you want to cook your own, so much the better.
It’s not only more economical, but allows for control over sodium. The high salt content of canned beans is a drawback (though one can be mitigated by draining and rinsing).
Another downside is that many cans (not just those containing beans) are made with the chemical BPA. Some brands of organic beans come in BPA-free cans, and are labeled as such, so you can look for them. Of course, you’ll pay extra for beans that are both organic and BPA-free; but even with these factors, they’re still a protein bargain.
Good-quality canned beans (organic beans are available, too) are great to have in the pantry at all times, but especially during warmer months, when the long soaking and cooking time required is less than optimal. I recommend buying canned beans with no additives, and rinsing the salty broth away before use.

The easy steps to cooking beans from scratch
As a rule of thumb, raw beans generally swell to about 2 1/2 times their volume once cooked. If you need 4 cups of cooked beans, for example, start with 1 2/3 cups raw.
As long as you’re making the effort, it pays to cook more than you need for one recipe, and freeze the extra beans for later use. Beans are one of the foods that freeze most successfully. Here are the basic steps:
1. Rinse the beans in a colander and look through them carefully to remove grit and small stones.
2. Combine the beans in a large pot with about 3 times their volume of water. This doesn’t have to be exact. Cover and soak overnight. Refrigerate the cooking pot if your kitchen tends to be warm, or if it’s summer. For a quicker soaking method, bring the mixture to a boil, then cover and let stand off the heat for an hour or two.
3. Drain the soaking water. Though some vitamins may be lost, draining the soaking water also eliminates some of the complex sugars that many people have trouble digesting. Fill the pot with fresh water, this time in about double the volume of the beans. Again, no exact amount is needed; just allow plenty of room for them to simmer.
4. Bring the water to a boil, then lower the heat to a gentle simmer. Cover and cook the beans slowly and steadily. Set the cover slightly ajar to prevent foaming. Most beans take about 1 1/2 hours to cook slowly and thoroughly.
To test if beans are done, press one between your thumb and forefinger; it should yield easily. Where beans are concerned, a bit overdone is better than underdone, which will hinder their digestibility, not to mention their mouth feel.
5. Add salt only when the beans are done. Salt tends to harden the skins and prolong cooking time. Allow the beans to cool in the pot if you’re going to store them; or just scoop them out with a slotted spoon and use in a recipe right away.
6. Drain the beans; hold back a little of the liquid to keep them moist. To store beans not being used right away, transfer to a tightly lidded container with some of the liquid. They’ll keep in the fridge for 4 days or so, and in the freezer for at least a couple of months.
A wonderful world of bean varieties
Beans cooked from scratch gives you not only value for your buck, but are also a valuable source of plant-based nutrients. They’re powerhouse plant foods, rich in protein and fiber, and low in fat. They provide a slew of vitamins (B vitamins in particular) and essential minerals (notably iron). From one variety to another, beans vary in terms of their exact nutritional profile. Beans 101: Cheap, Nutritious, and Super-Healthy gives an overview of this very impressive food group.

This roundup details 17 common bean varieties and provides links to many satisfying, plant-based recipes. Put your cooked beans to good use in the recipe roundups following.
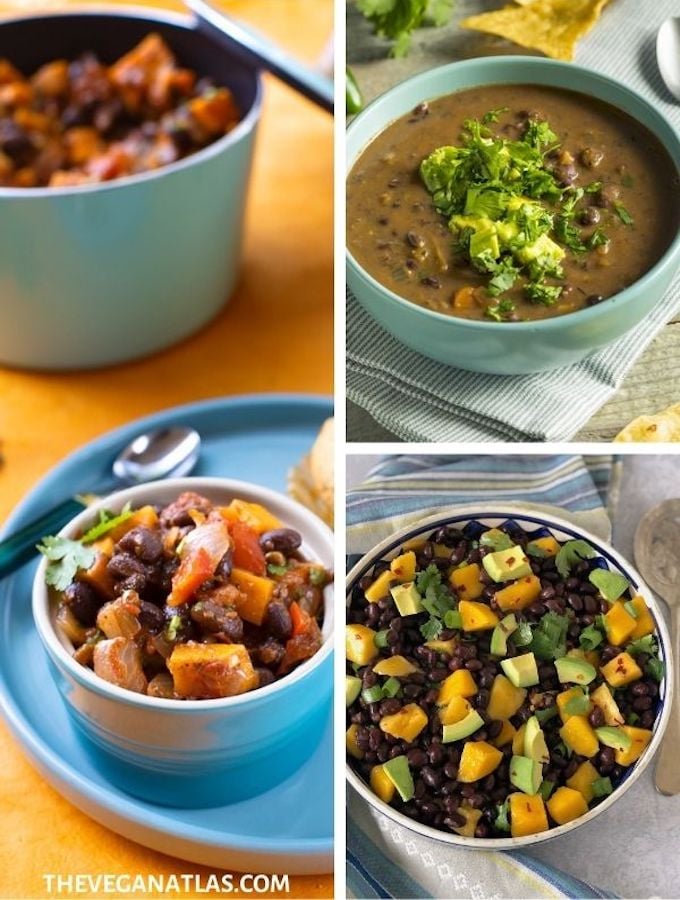
45 Tasty and Versatile Black Bean Recipes: Tasty black beans are especially popular in Cuban, South American, American Southwestern, and Mexican cuisines. Here’s a selection of tasty and versatile vegan black bean recipes that are great for everyday and special occasion meals. You’ll find some incredible black bean desserts, too!

21+ Plant-Based Recipes for Cannellini & Great Northern Beans: The mild flavor and creamy texture of cannellini and Great Northern beans (aka white beans) make them useful staple legumes. Because their taste is neither distinct nor bland, they’re equally at home in subtly or boldly seasoned dishes. Here’s a generous selection of tasty plant-based recipes using cannellini or Great Northern beans.

39+ Tasty, Easy Chickpea Recipes: Enjoy this roundup of easy, tasty plant-based chickpea (aka garbanzo bean)recipes. You’ll find naturally vegan curries, soups, stews, salads, composed platters, and of course, hummus.
Here are recipes using:

Adapted from Plant Power by Nava Atlas
See lots more plant-based tips & trends.
Leave a Reply