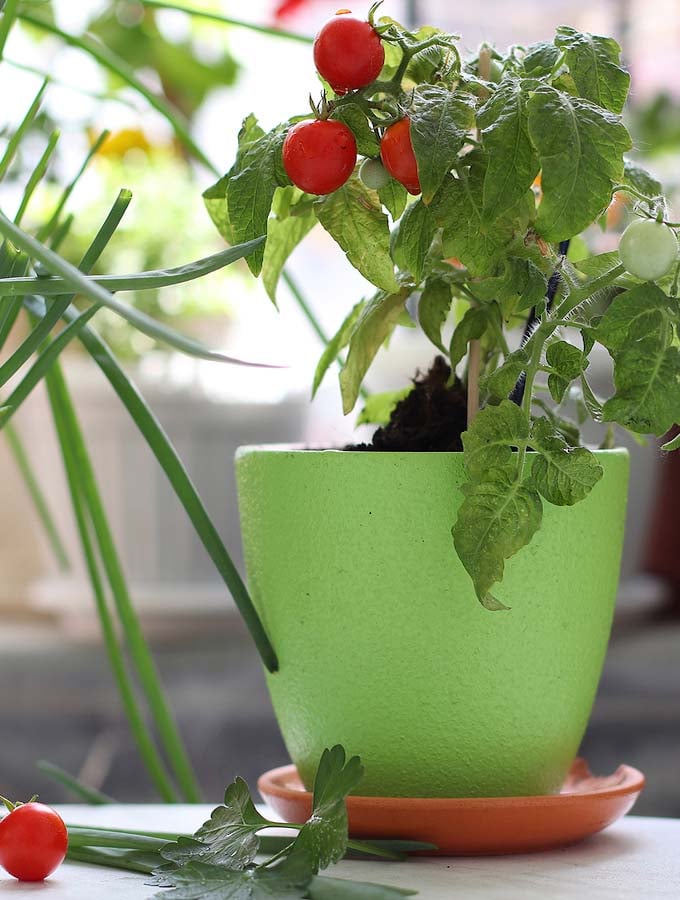
Growing cherry tomatoes in a container requires a little more care than just putting them in soil. Here we’ll explore how to grow cherry tomatoes indoors, with lots of tips on container gardening in 5 basic, easy steps.

Tomatoes like plenty of sun, lots of space to grow, good air circulation, good soil, and good drainage. You’ll also want to be sure that your container garden receives regular feeding.
Potted or container plants are far easier to keep weed-free and need less water and fertilizer. When it comes to cherry tomatoes, the advantages will be even more extensive.
Cherry tomato plants grow quickly yet require adequate care to yield the maximum amount of fruit. Indoor pots will help keep these delicate plants out of the reach of pests and provide adequate ventilation.
Furthermore, because of the greater drainage and restricted soil in containers, nutrient ratios may be adjusted much more easily than with in-ground gardening.
Follow the easy steps ahead to learn how to grow cherry tomatoes indoors. Let’s dive into this step-by-step guide that explains everything you need to know on how to grow cherry tomatoes in a container.

Step 1 – Prepare a suitable environment
In general, you want to grow your cherry tomatoes in a warm environment. Cherry tomatoes are classified as a warm-season fruit, and some varieties are harder than others.
Locate a spot that gets several hours of sun from a nearby window: To grow the plants evenly and not lean towards the light on only one side, the best thing you can do is to rotate them often. If you don’t have a south-facing window, artificial light might be the answer. Artificially lit cherry tomatoes will require at least 16 hours of light every day.
If you’re using a mix of artificial and natural light, keep an eye on how your plant responds and adjust the quantity of artificial light accordingly. You’ll need to keep an eye on the temperature as well. The ideal temperature ranges from 65 to 80 degrees Fahrenheit, and thankfully that is the average temperature in our homes, so that will make the growing part easier.
Choose a soil that’s best for tomatoes: loose, loamy, and well-draining soil with a pH of 5.2 to 6.3. Loam or sandy, slightly acidic soil is the ideal soil type for cherry tomatoes. Cherry tomatoes may be grown in nearly any soil, except heavy clay. You can add sand and organic materials like peat moss or compost to enhance clay soil for tomatoes. Also, it’s good to know that they prefer soil that is rich in nutrients.
Step 2 – Choose the best container
Soil is an important part of gardening, but so is having the right container for planting and growing the tomatoes. There’s something for almost any gardener in a wide range of materials (clay, cement, plastic, metal, or wood) and designs, but some containers are better suited than others to grow tomatoes.
A large pot (3 to 5 gallons) filled with good soil is a great place to start, but when tomatoes grow beyond a certain size they need to be transplanted to a bigger container.
When your cherry tomato plant grows around three times the height of its container, that might be the time to transplant it. So, if you’re switching from a 4-inch container to a larger one, wait until your plant is 12 inches tall before burying the stem.
You can look for 3- to 5-gallon pots, which are ideal for cherry tomatoes and provide lots of space for any additional support the plants may require. Make sure your container has drain holes, just like any pot that is used for gardening.
Tomatoes also tend to be heavy feeders and need to be watered often. When growing cherry tomatoes in containers, they need frequent watering, especially when they start to produce fruit. Even though the fact that potted plants require more water on average, tomatoes dislike ‘wet feet,’ therefore proper drainage is necessary. Make sure the pot you’re using has a drainage hole and that you’re using a good-draining planting medium.
This is where using a container made of heavy-duty plastic comes in handy. Because cherry tomatoes need good drainage, and if your container/pot has only one drainage hole, you will need to add more. You can do this easily with a drill, but only if your pot or container is made out of plastic or wood, so it’s going to be harder if it is made out of ceramic.
Because of this, the best is to grow them in plastic containers or fabric planters. The nicest thing about fabric containers is that they are free-draining, and they don’t need drainage holes.

Step 3 – Plant the cherry tomatoes seeds in the container
When growing tomatoes from seed, plant the tomato seeds 2 to 3 inches deep into the soil. Rather than buying additional plastic seed-starter pots or pricey kits, consider using some things you’d normally throw away or recycle. You’ll be helping the environment (and your wallet) by using egg cartons and coffee grounds.
First, mix coffee grounds about half and half with soil. Next, cut the cups of your egg carton apart to prevent the roots from getting tangled. Then, fill the egg cups with about half-full grounds and soil mix.
Now, add the seeds. It’s ideal to plant only one or two seeds per cup, because overcrowding causes seedlings to die. When it comes to transplanting the seedlings, you need to make sure they have four true leaves. Place the whole egg cup in the new container. Bury the seedling deep enough to cover at least half of the stem, since this stem will grow roots and make the plant grow stronger.
You must keep the tomato plants in full sun, and water them daily for the plant to thrive. After a month, transplant the larger tomato seedlings into larger containers.
You can go from a 3–5-gallon container to a 6–7-gallon container. For producing cherry tomatoes, a minimum of 2 to a 9-gallon or larger container is perfect.
Continue to water the plants and fertilize them as needed: Two to three times a week, check the moisture of the soil surrounding the tomato plant. Water the soil until it is fully moist when it feels quite dry to the touch. Slowly water the cherry tomato to avoid water accumulating on top of the soil. Stop watering the plant when the water starts to drain out the bottom of the container.
For cherry tomato seedlings, you need to water every two or three day to keep the soil evenly moist. However, small cherry tomato plants should get water daily. Also, if they’re in a very warm spot, you might need to water them twice a day.
Step 4 – Water and fertilize regularly
One of the keys to growing the best tomatoes possible is to water and fertilize them regularly. This keeps the soil fertile, ensures that there are adequate nutrients, and prevents disease. It also makes sure you get the maximum yields since the plants grow faster.
Before you fertilize them, it’s nice to have your soil tested. If your soil is properly balanced or high in nitrogen, use a fertilizer that is somewhat lower in nitrogen and high in phosphorus, such as a 5-10-5 or a 5-10-10 mixed fertilizer.
If you have a slight nitrogen deficit, apply a balanced fertilizer such as 8-8-8 or 10-10-10. If you can’t have a soil test done, assume you have good soil and use the higher phosphorus tomato plant fertilizer unless you’ve had difficulties with sickly tomato plants in the past. During the growth season, fertilizer should be applied every 4 to 5 weeks.
Because your cherry tomatoes are in a container, you can easily control the water levels in the soil.
Cherry tomatoes grown in containers need a lot of water. During the warmer weather or while plants are actively fruiting or blooming, give them around an inch of water every week, or more.

Step 5 – Harvest the cherry tomatoes when they’re ready
Tomatoes are a good example of a crop that can continue to ripen after harvest, but not all varieties are equal. Some may never truly mature and ripen to their peak sweetness until weeks after the first signs of ripening appear, but others continue to ripen and sweeten throughout the growing season.
To get the maximum amount of flavor out of your tomato harvest, you need to harvest them at the right time. Harvesting at the right time means knowing when your cherry tomatoes are ready to pick. This will allow you to preserve the sweetness and ripeness of your tomato harvest through the cooler months.
You’ll know the right time when the tomatoes come off the plant easily, as well as the size of the plant. Around 65 to 70 days after planting, the very first fruits ripen.
Final thoughts on growing cherry tomatoes indoors
In conclusion, growing cherry tomatoes in a container indoors is a great thing to do if you wish to enjoy them year-round. Container gardening is an excellent method of growing tomatoes in colder regions. This method also works for larger tomato varieties as well.
Contributed by Tony Manhart, is the founder and editor in chief at Gardeningdream. Tony’s enthusiasm and rich experience in all things related to growing plants have led him to share his knowledge with gardening aficionados all over the world. When he’s not working around his garden, Tony spends his time writing tips and tricks on various subjects related to plant cultivation and soil maintenance.
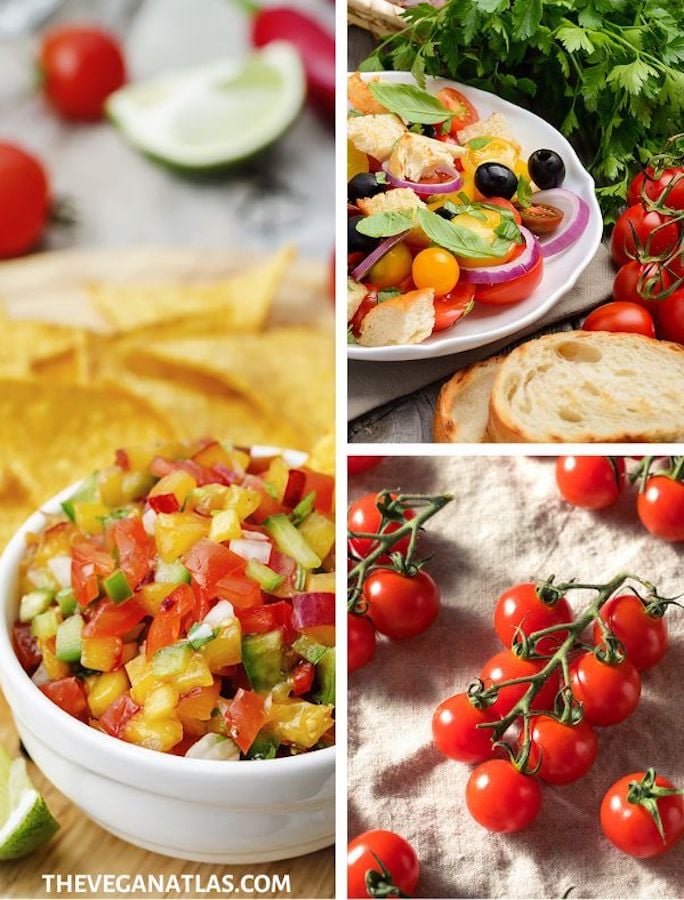
What to do with all those cherry tomatoes you’ve grown …


I plan to do indeterminants indoor. I have a large east facing window giving full sun 6 hrs. There are several varieties, is one more suited to this then say the larger tomatoes we see in store?
Hello — sorry for the delayed response. This article is by a contributor with whom we’re no longer in touch; I myself am no gardener, so I apologize that I can’t be of more help in answering your question.